By Millie Flowers
Delicious Recipe for Canning Green Beans: A Step-by-Step Guide
Delicious Recipe for Canning Green Beans: A Step-by-Step Guide
Canning green beans is an excellent way to savor their vibrant flavor all year round. Whether you're a seasoned canner or just getting started, learning how to can green beans can be rewarding and economical. This guide will walk you through the process of canning green beans, ensuring you enjoy delicious home-preserved beans whenever you crave them!
Why Canning Green Beans is Worth It
Canning your own green beans allows you to lock in their fresh taste and nutritional benefits. By preserving them yourself, you can control the ingredients, ensure no additives, and use seasonal produce when they are at their best. Plus, it’s an eco-friendly option that reduces waste from store-bought canned goods!
How Long Do Canned Green Beans Last?
Canned green beans can last anywhere from 3 to 5 years when stored in a cool, dark place. However, for the best flavor and nutrient retention, it’s recommended to consume them within the first year.
According to the USDA
Properly processed home-canned foods can be safely stored for extended periods. Refer to the USDA's canning guidelines for more in-depth information on safe canning practices. USDA Canning Guidelines.
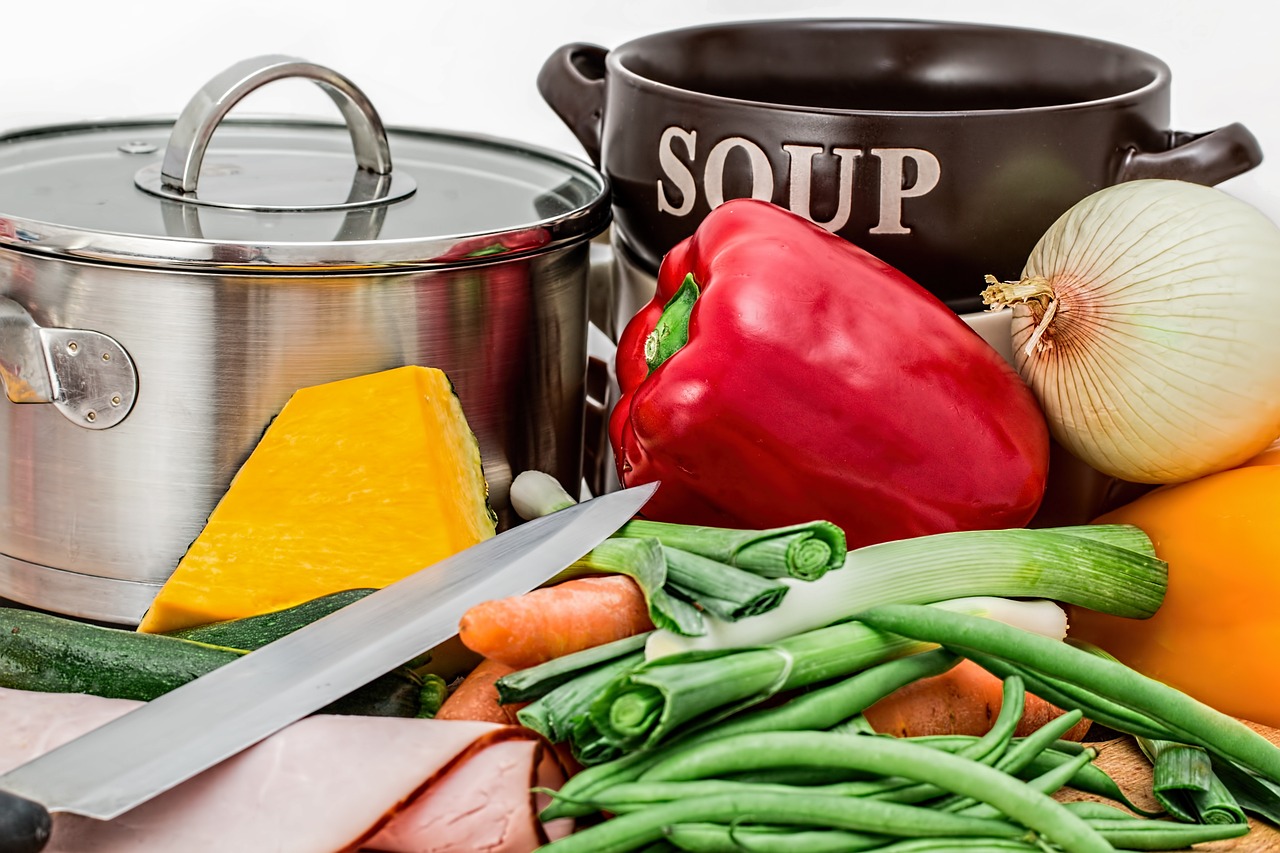
Essential Ingredients for Canning Green Beans

Ingredients for canning green beans are simple and few. You'll need:
- Fresh green beans (about 10 pounds for 7 quarts)
- Water
- Salt (optional, for flavor)
- Pressure canner or water bath canner
Can I Use Frozen Green Beans for Canning?
While it’s preferable to can fresh green beans, you can use thawed frozen green beans. However, the texture might differ since they have already been blanched and frozen. Fresh beans yield the best results when canning.
Real-Life Example
Many experienced canners recommend using fresh beans to achieve that crisp texture. Personal experiences shared in canning forums emphasize the quality difference between fresh and frozen beans.
Best Practices for Canning Green Beans

Follow these best practices for a successful canning experience:
- Wash green beans thoroughly and cut them into 1-2 inch pieces.
- Blanch the beans for 3 minutes, then immerse them in ice water.
- Fill jars with beans, leaving an inch of headspace.
- Add salt if desired, then fill jars with boiling water.
- Seal and process in a pressure canner for 20-25 minutes.
What Equipment Do I Need for Canning Green Beans?
You will need a pressure canner or a water bath canner, canning jars, lids, and a canning funnel. Make sure all equipment is clean and sterilized before use.
Expert Tip from Canning Authorities
Elizabeth Andress, a food preservation expert, emphasizes the importance of using a pressure canner for low-acid foods like green beans to prevent botulism. For more expert advice, check the National Center for Home Food Preservation.
Final Thoughts

Canning green beans is a fantastic way to enjoy this delicious vegetable year-round. By following the steps outlined in this guide, you can ensure that your canned green beans are safe, tasty, and ready to brighten your meals at any time. Now that you're equipped with this delightful recipe for canning green beans, why not give it a try?
If you enjoyed this post, consider sharing it with friends or downloading our free canning checklist to perfect your canning skills!
Related
-
 Ultimate Mac and Cheese Recipe: Comfort Food at its Best
-
 Ultimate Chili Recipe: Warm Up Your Kitchen with This Delicious Dish
-
 Delicious & Easy Banana Bread Recipe You Can't Resist
-
 Delicious Chicken Salad Recipe for Every Occasion
-
 Ultimate Chocolate Chip Cookie Recipe for Perfect Batches Every Time
-
 Delicious and Easy Meatloaf Recipe: A Comfort Food Classic
-
 Delicious Homemade Pancake Recipe for Breakfast Enthusiasts
-
 Delicious French Toast Recipe: Perfect for Breakfast or Brunch
-
 Delicious and Easy Chicken Breast Recipes for Every Taste
-
 Delicious Ground Beef Recipes for Every Meal